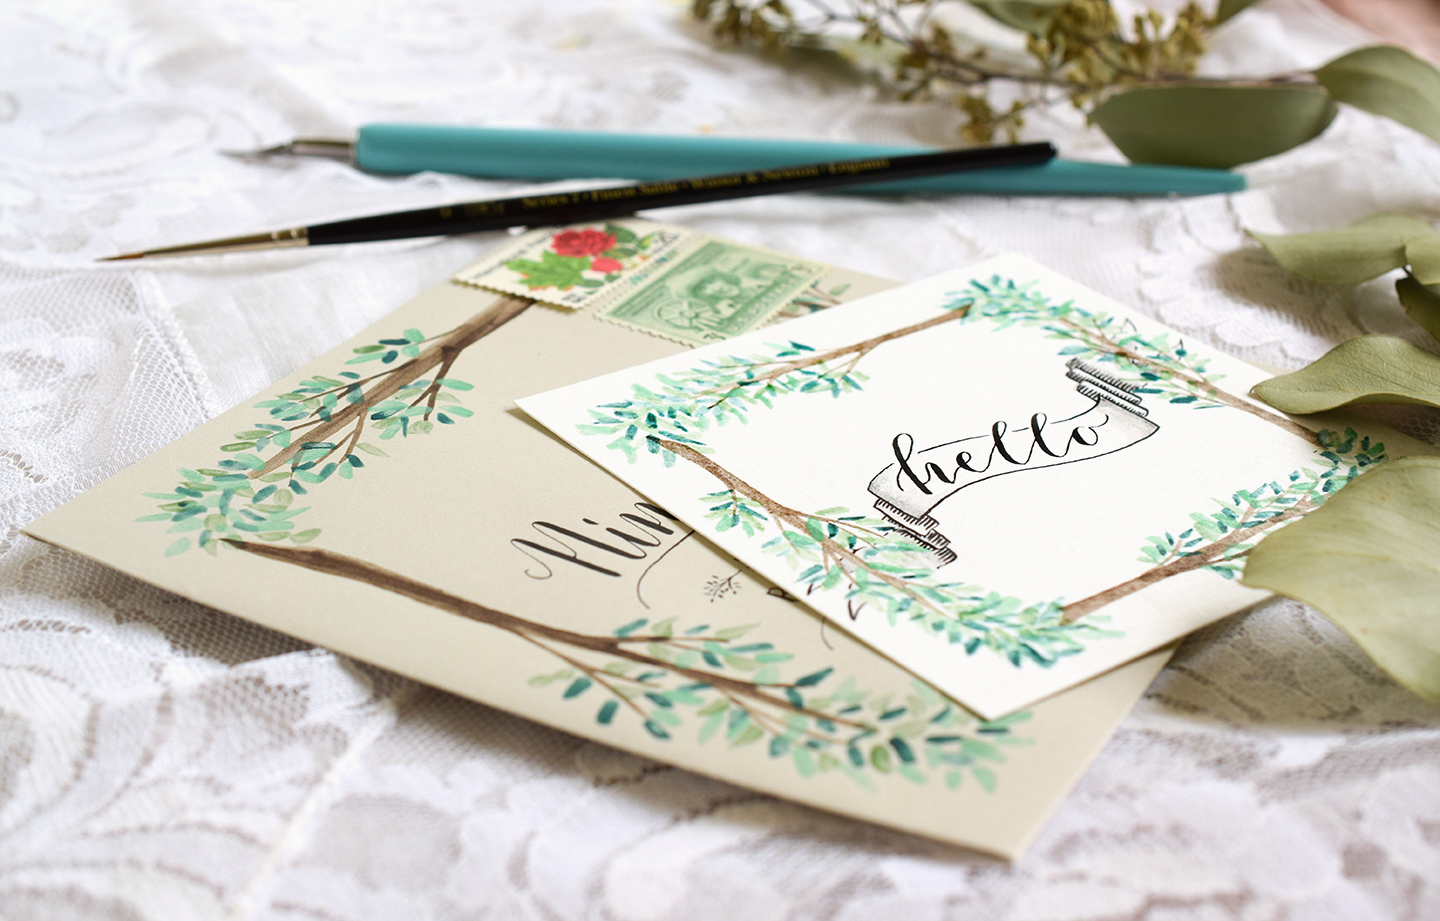
If you’re not on the watercolor wreath bandwagon, I hope that this series of three tutorials will get you there! I love watercolor wreaths because they’re gorgeous, quick, and they complement calligraphy and lettering extremely well. In today’s tutorial, you’ll learn how to make a “Branches” watercolor wreath. It’s a square or rectangular wreath that looks amazing on cards, envelopes, gift tags, bookmarks, and whatever else you want to try it on!

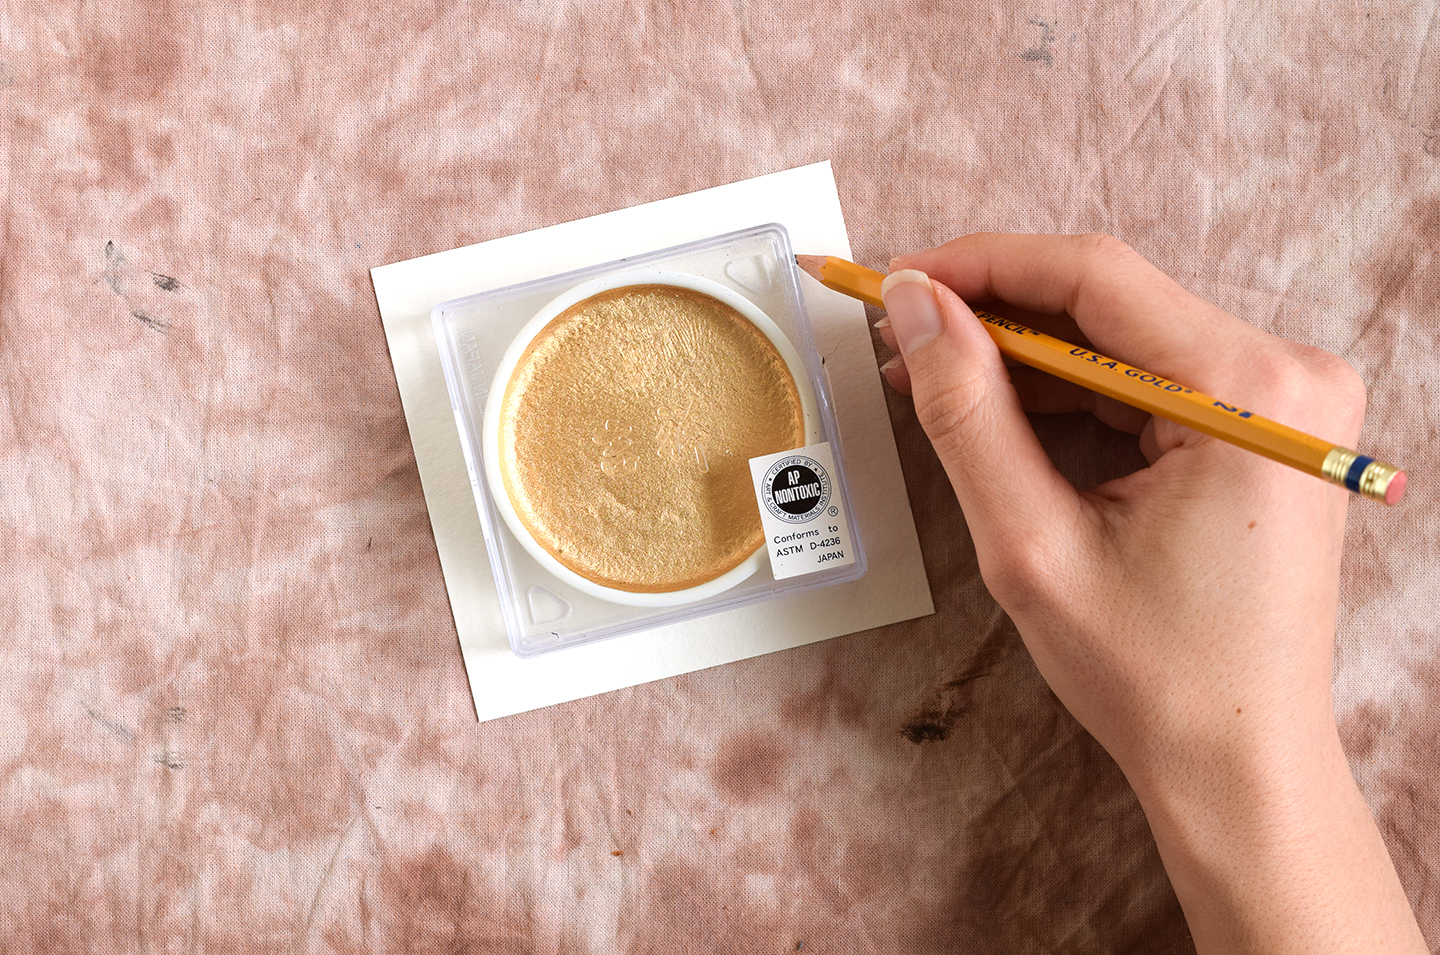
To make this watercolor wreath, you’ll start with a square or rectangular piece of paper (in this example, I’ll be painting on a 3″x3″ square piece of watercolor paper). Use your pencil to draw straight guidelines about 1/2″ from the edges of the square. You can use a ruler to achieve this, or you can “cheat” and trace around a square object, as I am doing below.

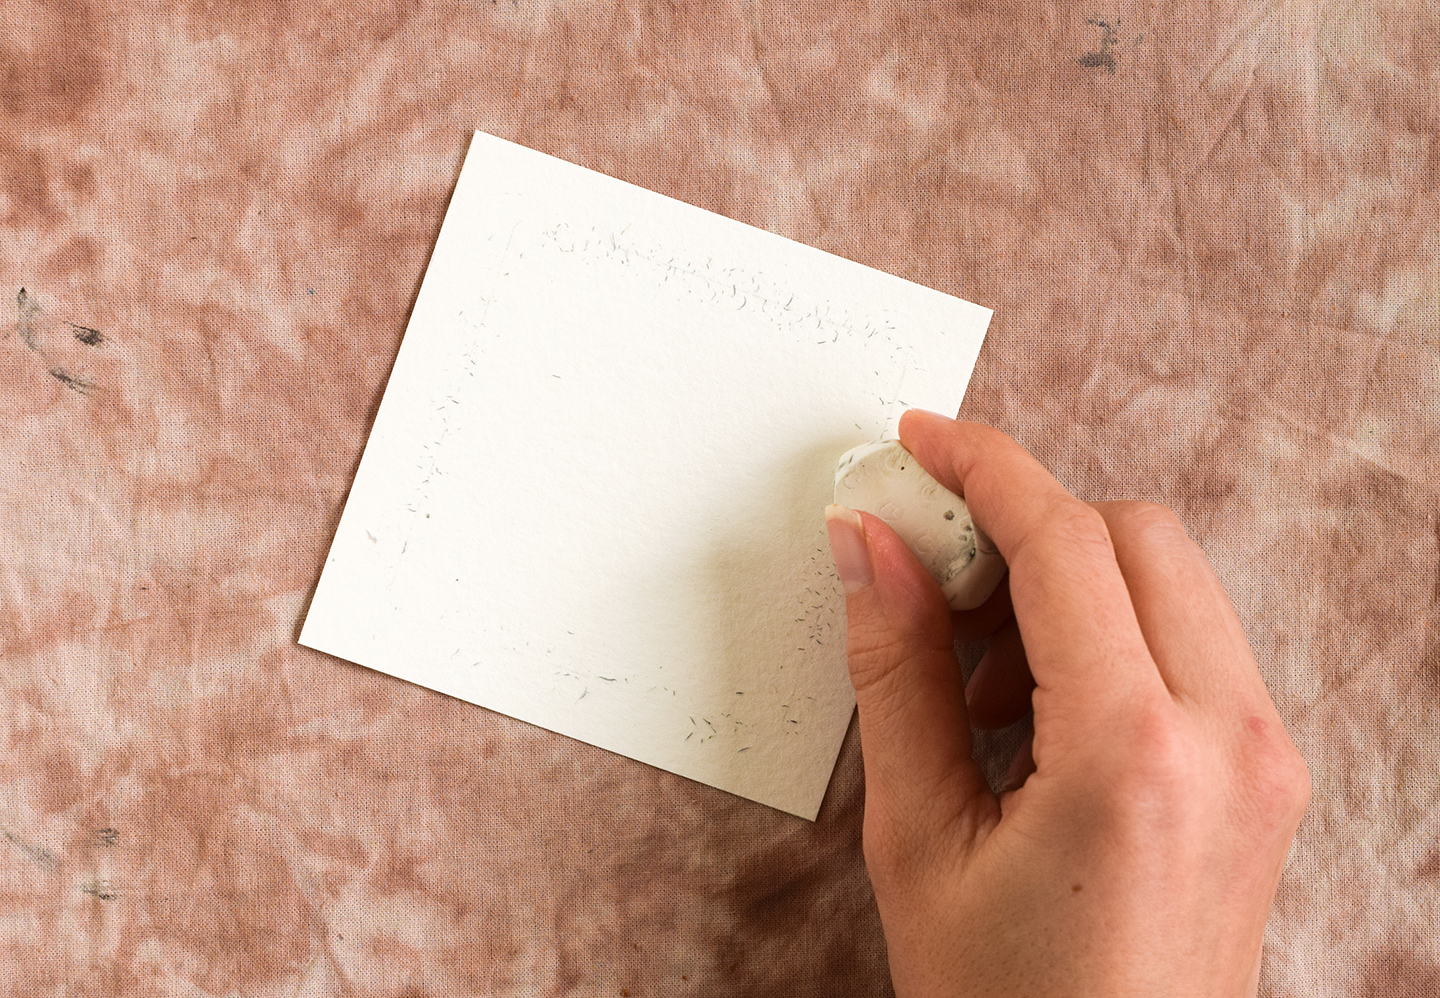
Next, take an eraser and use it to go over your pencil lines until you can just barely see them. This is a trick you can utilize whenever you want to paint with watercolor over pencil guidelines! The guidelines are so faint that you won’t be able to see them through the paint when the piece is finished.
Pull out your favorite set of watercolors, and use a little bit of water to moisten a nice brown tone. Pre-moistening the watercolor will make it easier for you to achieve a nice, vivid color. (The Altoids watercolor set pictured below is from Greenleaf & Blueberry.)

Once the water has soaked into the brown paint a bit (~2 minutes), you can use the paint to make a tree branch along the right edge of your square. Try to make the tree branch a slightly tapered column with an uneven bottom and little lines (sticks) coming out of it toward the top, as pictured below. A size 0 or 1 brush should do the trick! (If you’re not sure what size your brush is, take a look at its handle. It will have a number engraved somewhere, and that number denotes the size.)

Continue to paint tree branches, leaving a little bit of space in the corners that separate them.

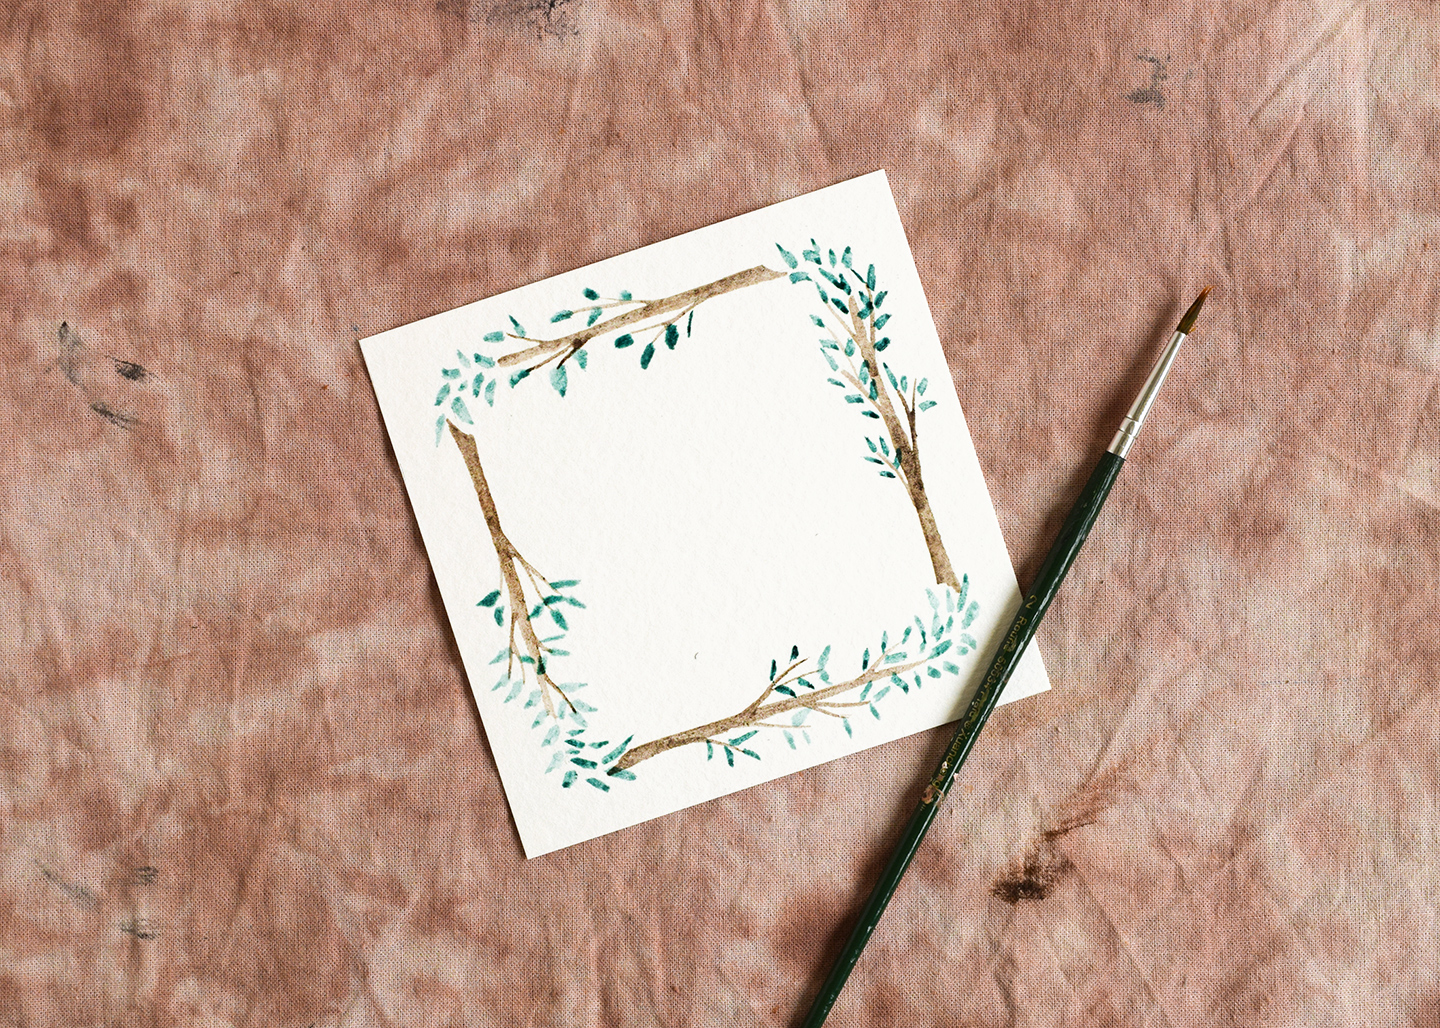
The result will look something like the photo below:

Now, take a larger paintbrush — I am using a size 2 brush — and use it to dab oblong dots of green watercolor paint along the branches. The leaves should loosely cluster around the twigs and the tops of the branches.
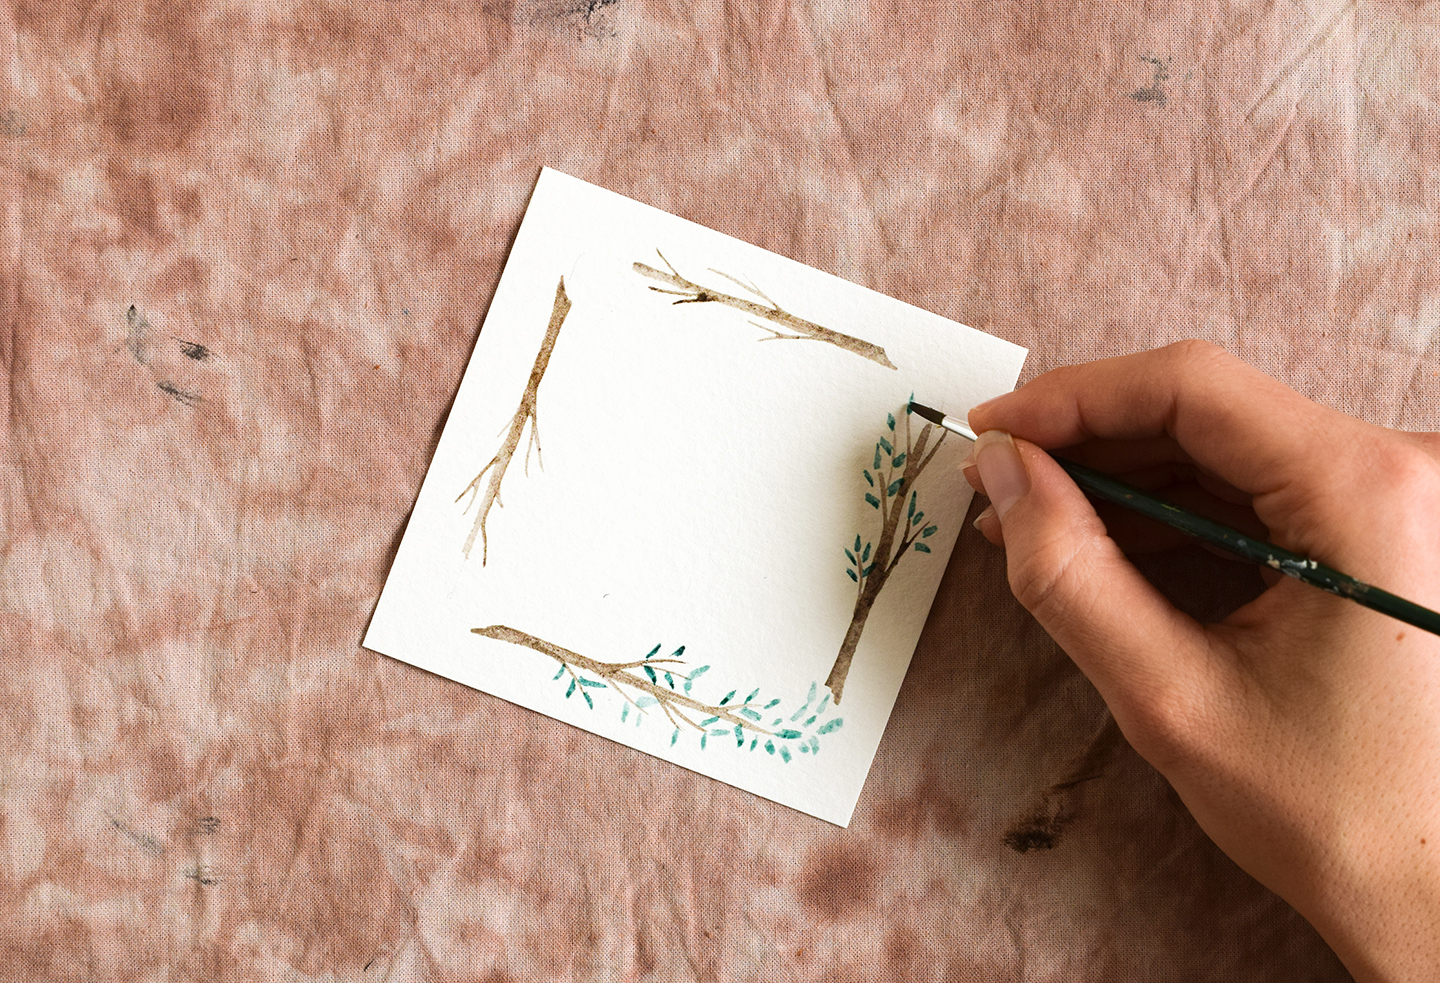
Continue to add leaves until the piece looks something like the photo below. Don’t worry that the leaves are sparsely spaced; you’re going to add more!
As we know from nature, no two leaves are exactly the same color. Accordingly, you’ll want to select a different shade of green and add more leaves to the piece. You can see below that I am using a lighter green than the first shade I chose.
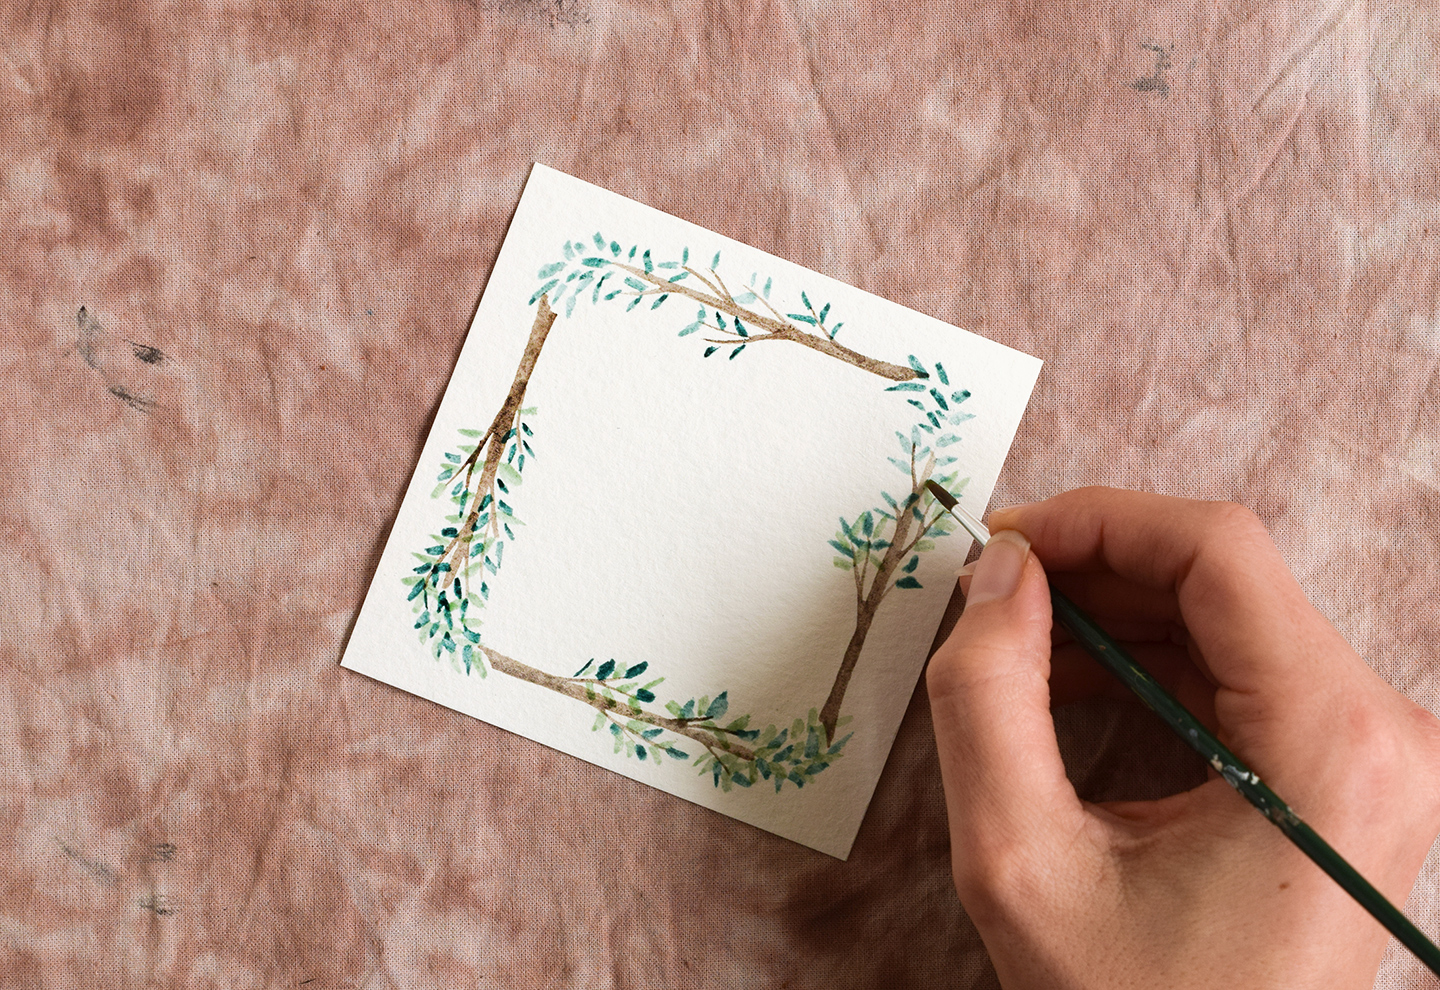

The final step is to add one more shade of green to thicken things out. Once the leaves on the branches look full and healthy, you’re finished!

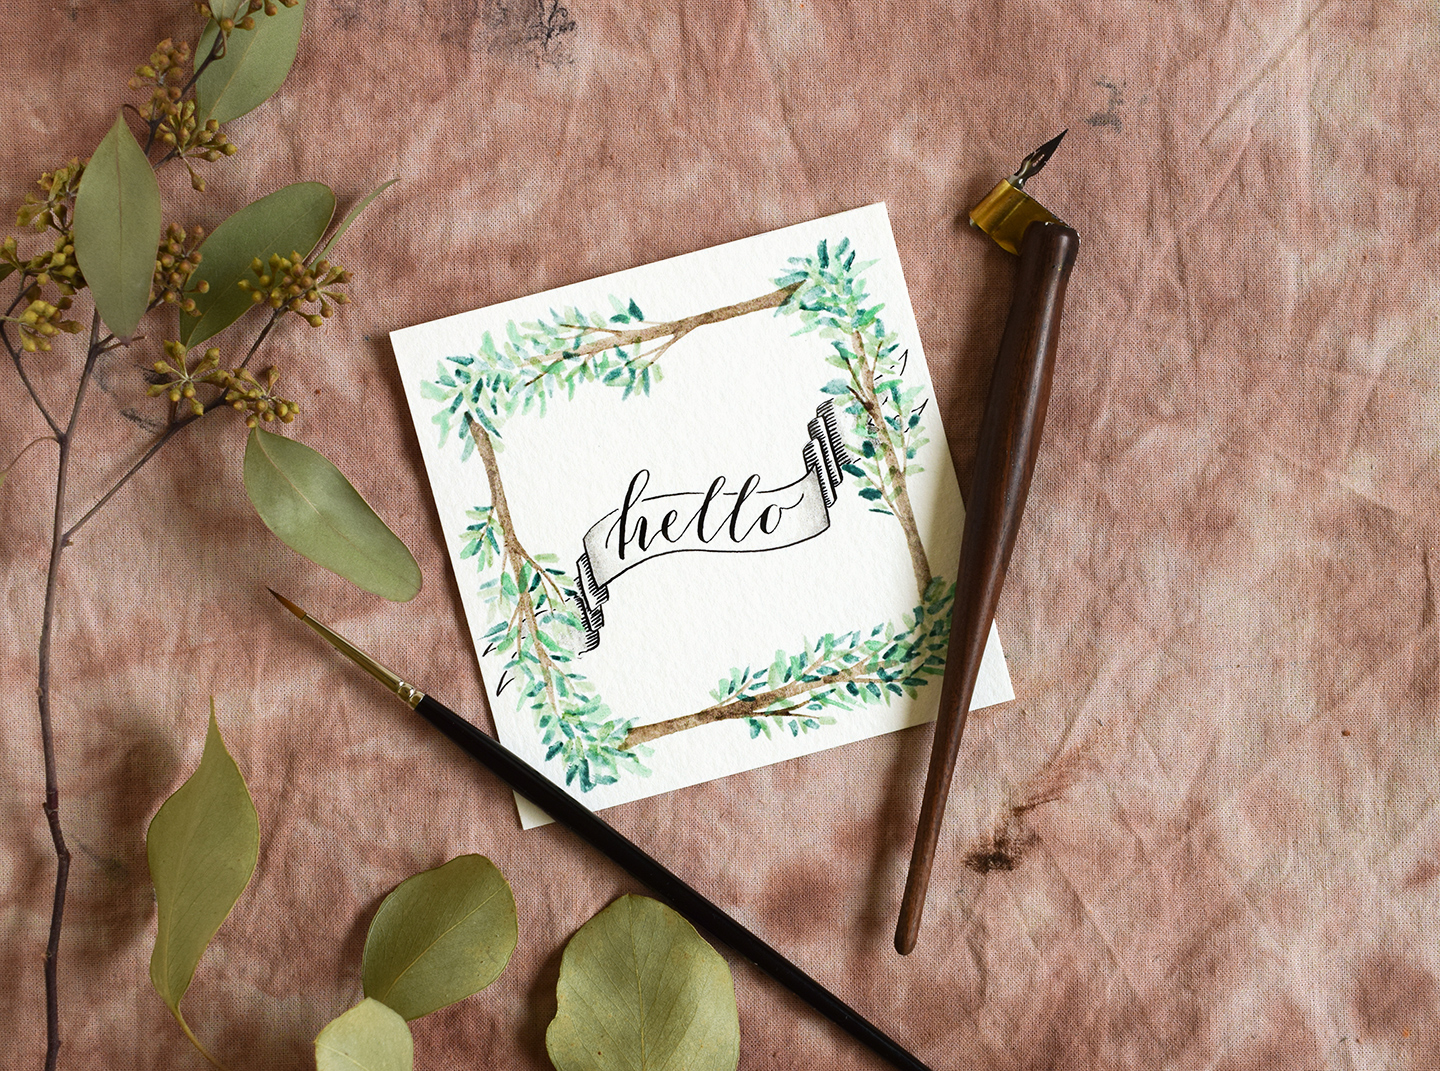
There are numerous applications for this technique — you can use the watercolor wreath on anything from wedding invitation design (learn how to digitize it in the new eCourse) to gift tags to handmade cards! Below, you can see that I have made a greeting card using Kaitlin Style calligraphy and a hand-drawn banner.
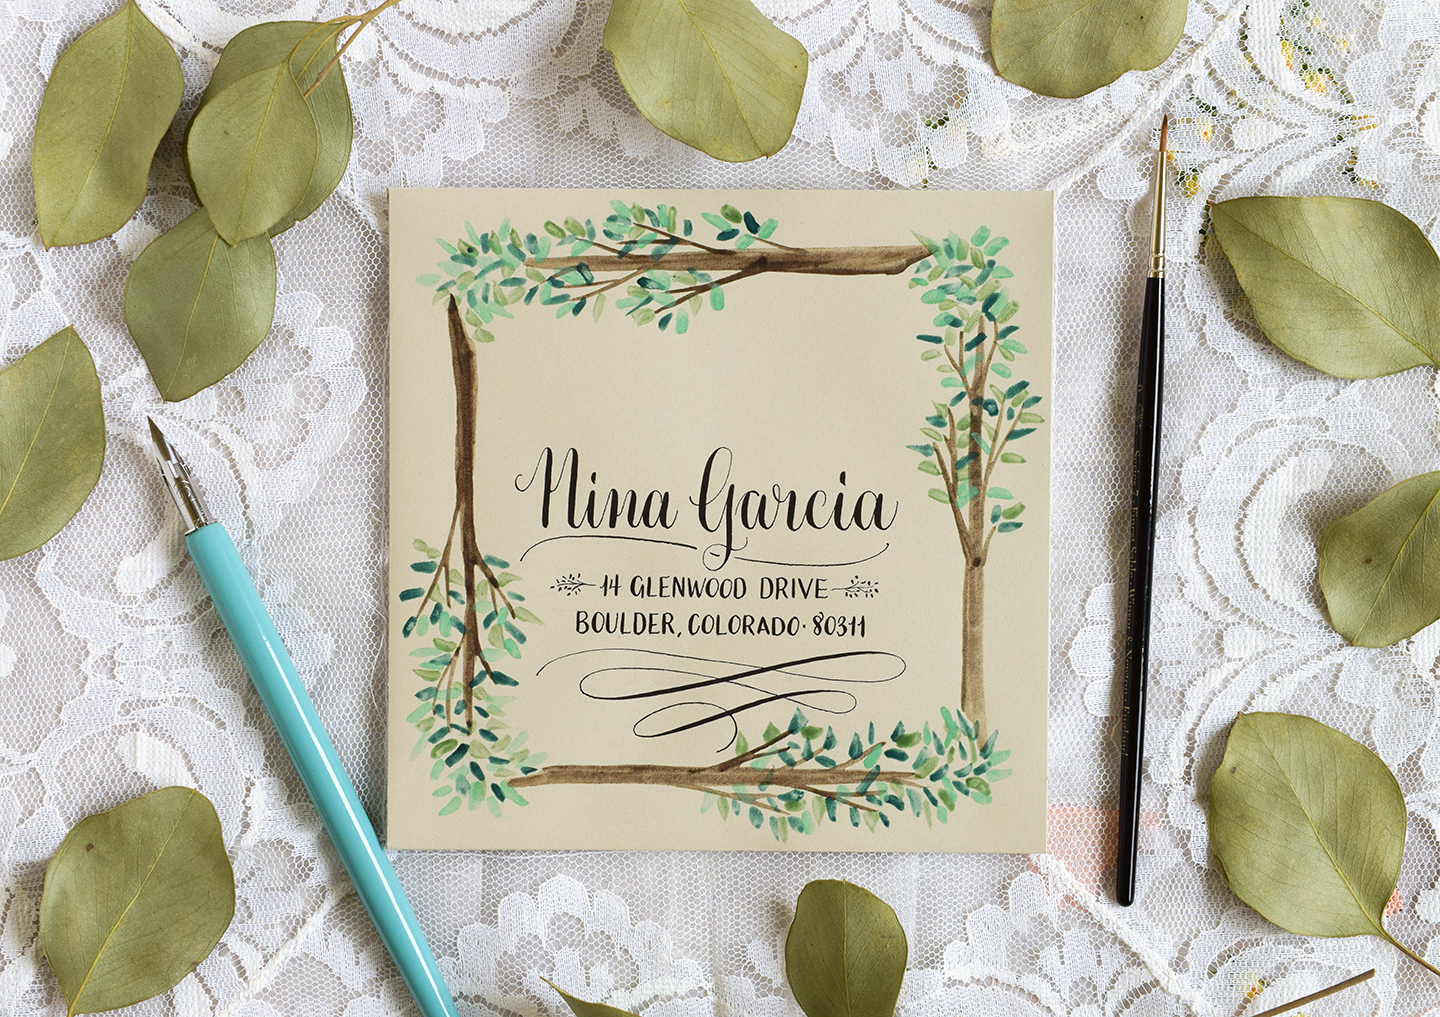
You can also use it to add some woodland personality to any light-colored envelope! The square envelope below features Amy Style calligraphy, Sans Serif lettering, and a simple calligraphy flourish.
I hope that you enjoyed today’s tutorial, and that you give making this woodland watercolor wreath a try this weekend! If you’re ready for more watercolor wreaths, you can find part II of this post by clicking here, and part III by clicking here. Thanks so much for reading TPK, and enjoy your weekend!
Warmly,
