
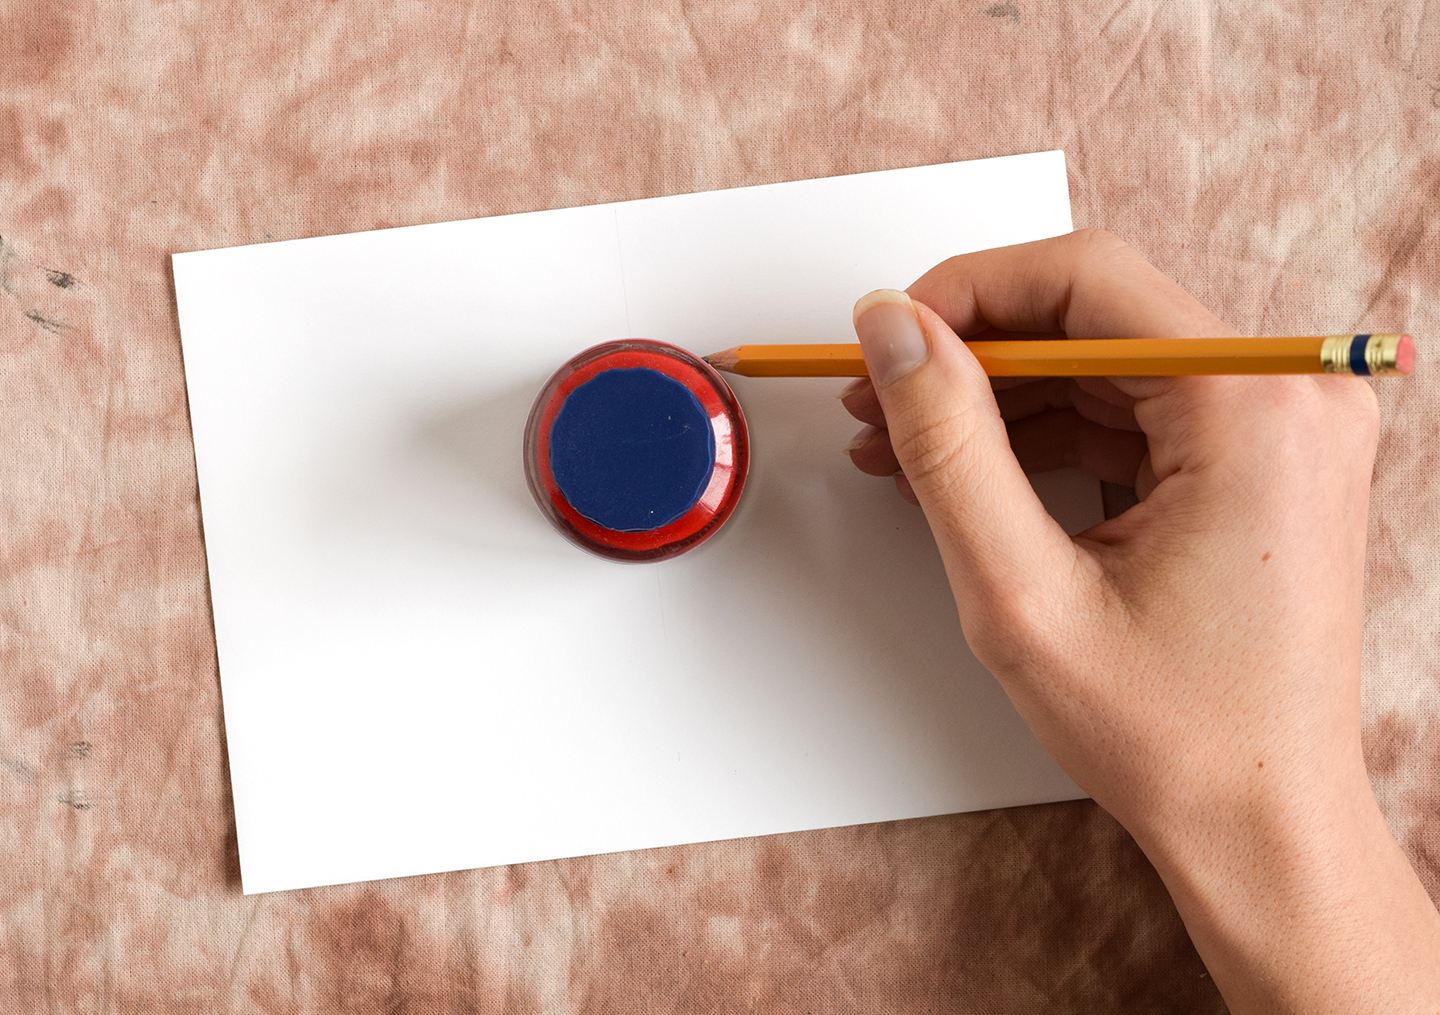
In this installment of the Woodland Watercolor Wreath Tutorials, you’ll learn how to make a super-simple wreath that features a myriad of little leaves. All you need in order to create this project is a round object to trace around, a dip pen, a paintbrush, and watercolor paints! To get started, trace around any circular object using a pencil. In the photo below, I am tracing around a bottle of ink on a white envelope.
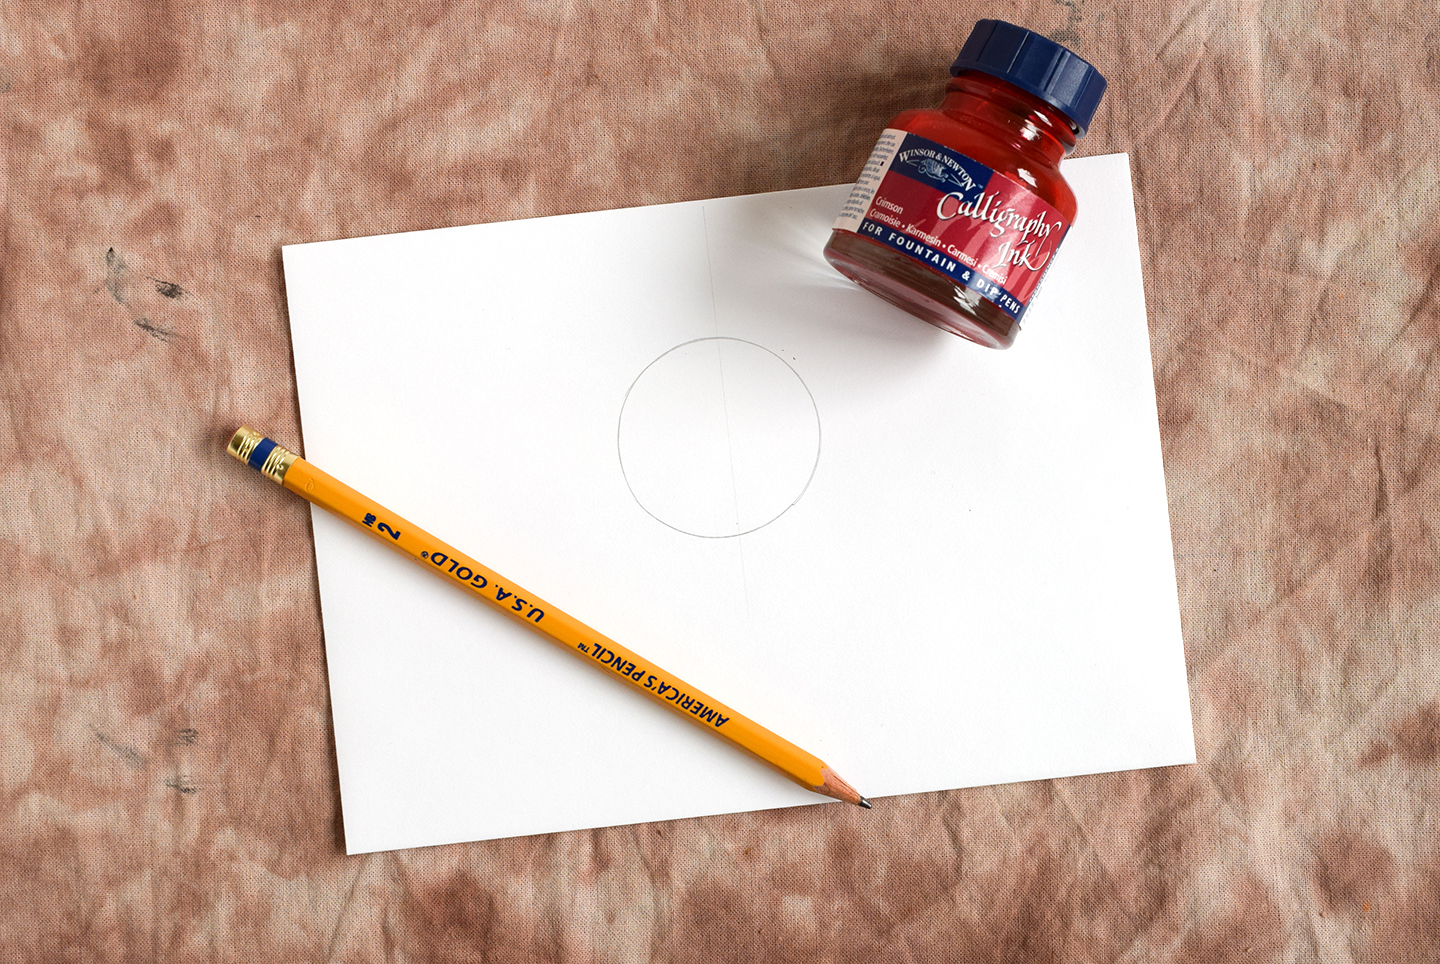
Next, you’ll use the eraser trick as described in Part I; go over your pencil lines with an eraser until they are just barely visible. This will ensure that you can see the traced circle as you are painting, but observers won’t be able to see it when the piece is finished!

Once you have partially erased your circle, use a drop of water to moisten two shades of green watercolors. Pre-moistening your paints will render them easier to use!

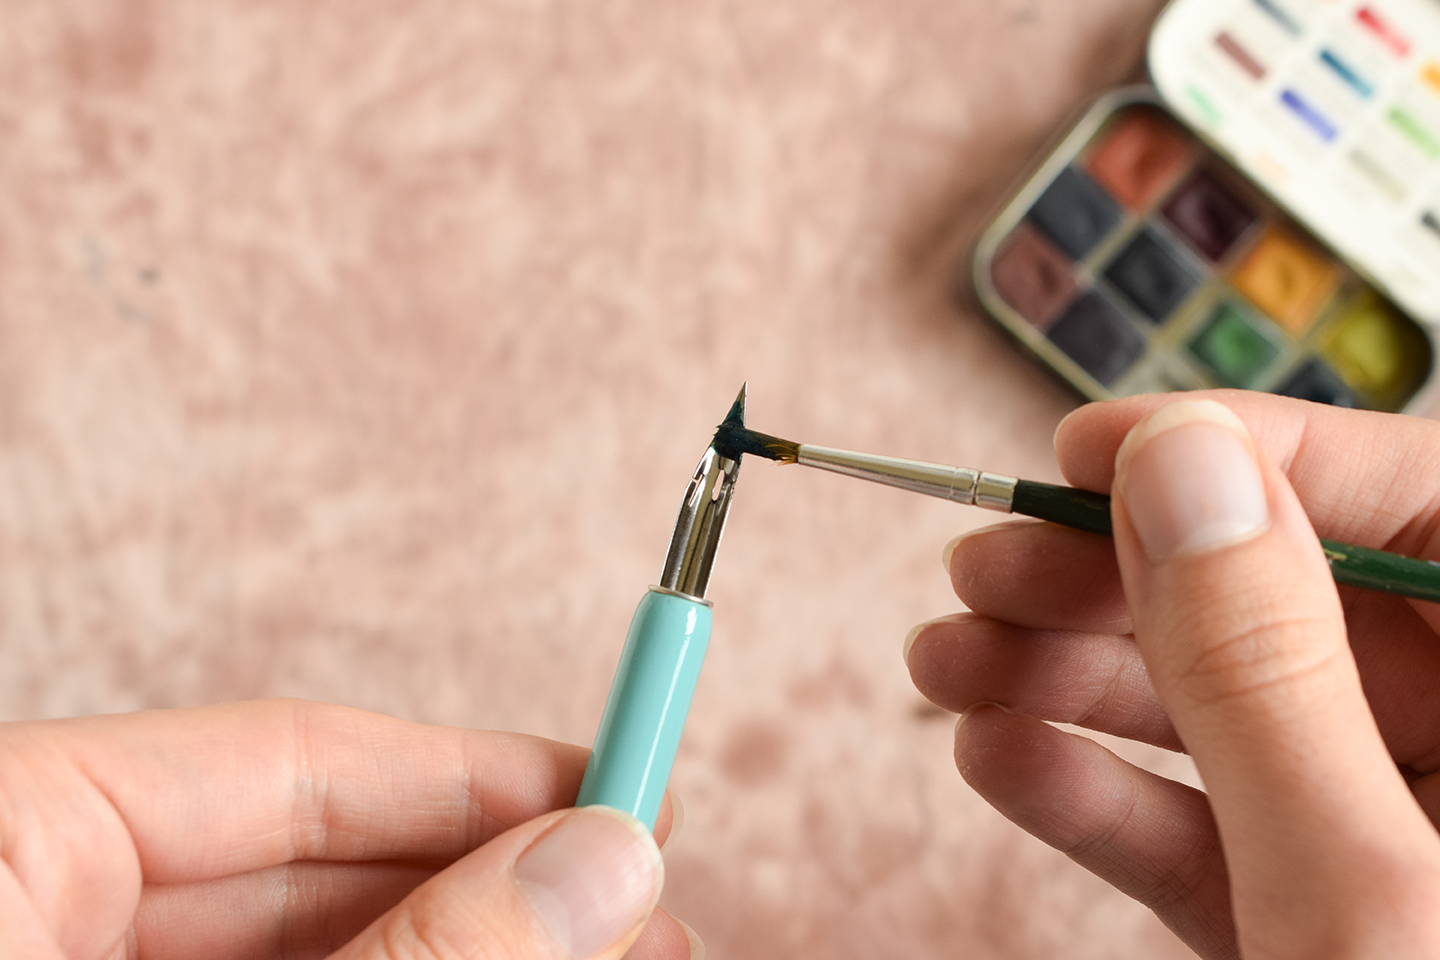
After the water has had a minute or two to soak in to the paint, saturate a brush with one of the green watercolors. Paint that watercolor on the back of your nib; you’re going to be using it to write with! (For more information on this technique, you can visit the A Video Crash Course on Watercolor Calligraphy post.)
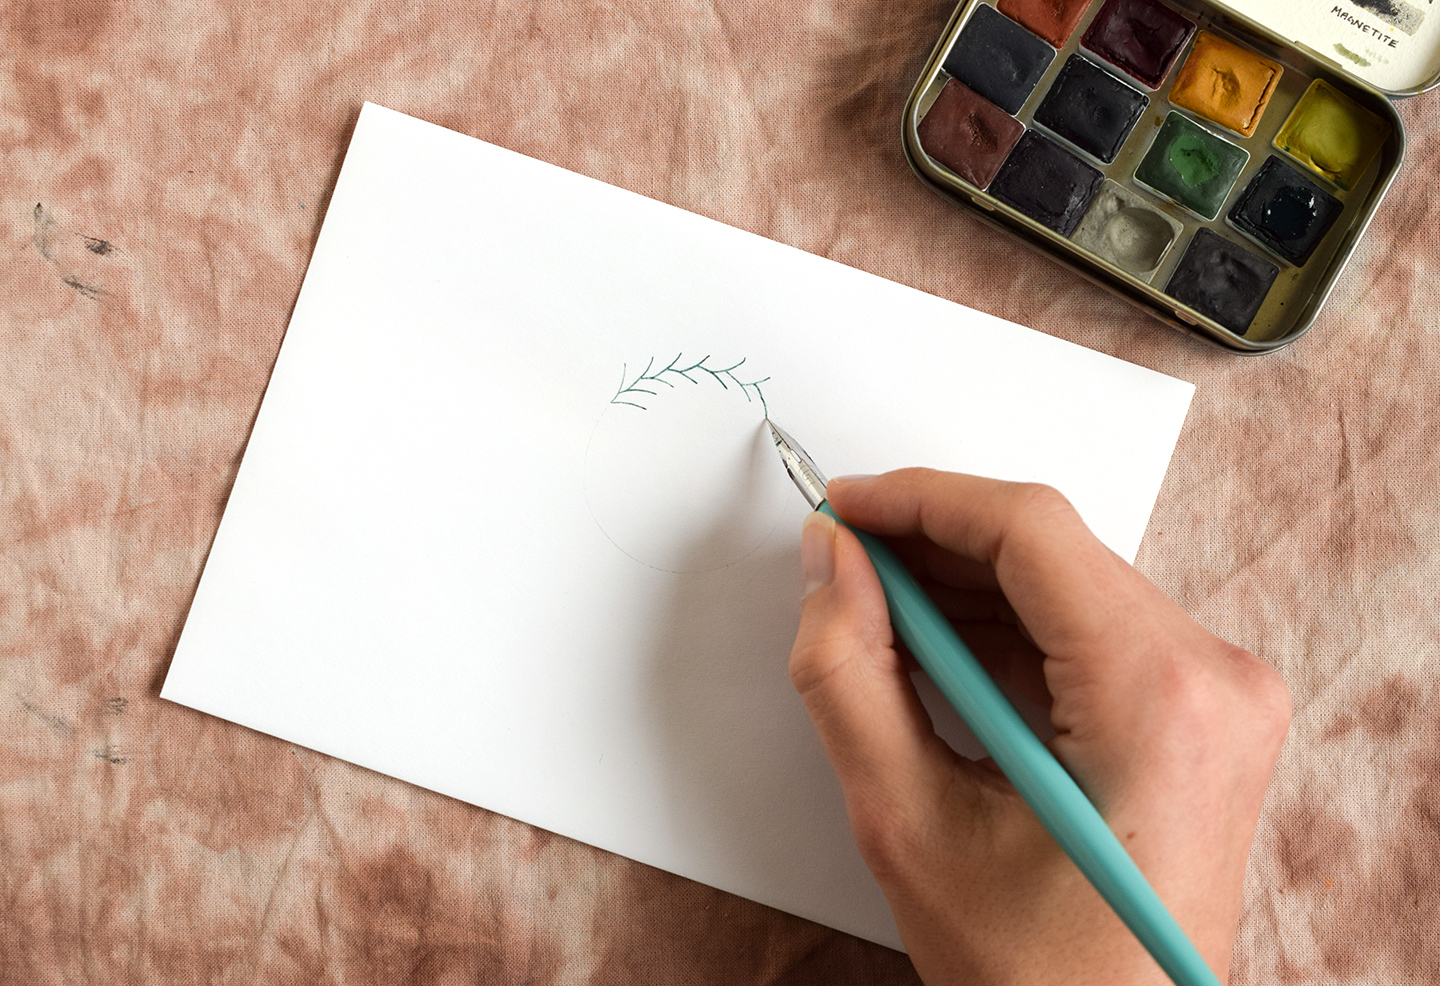
Use your dip pen to draw a series of short, slightly curved lines going around the circle. The lines should look like the ones below:

Now, take a small brush (size 0-00), and alternate between using the two different shades of green paint to make little almond-shaped leaves coming off of the lines. There’s no rhyme or reason to the location of the leaves; you can just paint them wherever there is space.

Don’t forget to use both colors of green as you are painting! You can paint a few leaves with one color, then paint a few leaves with the other color.
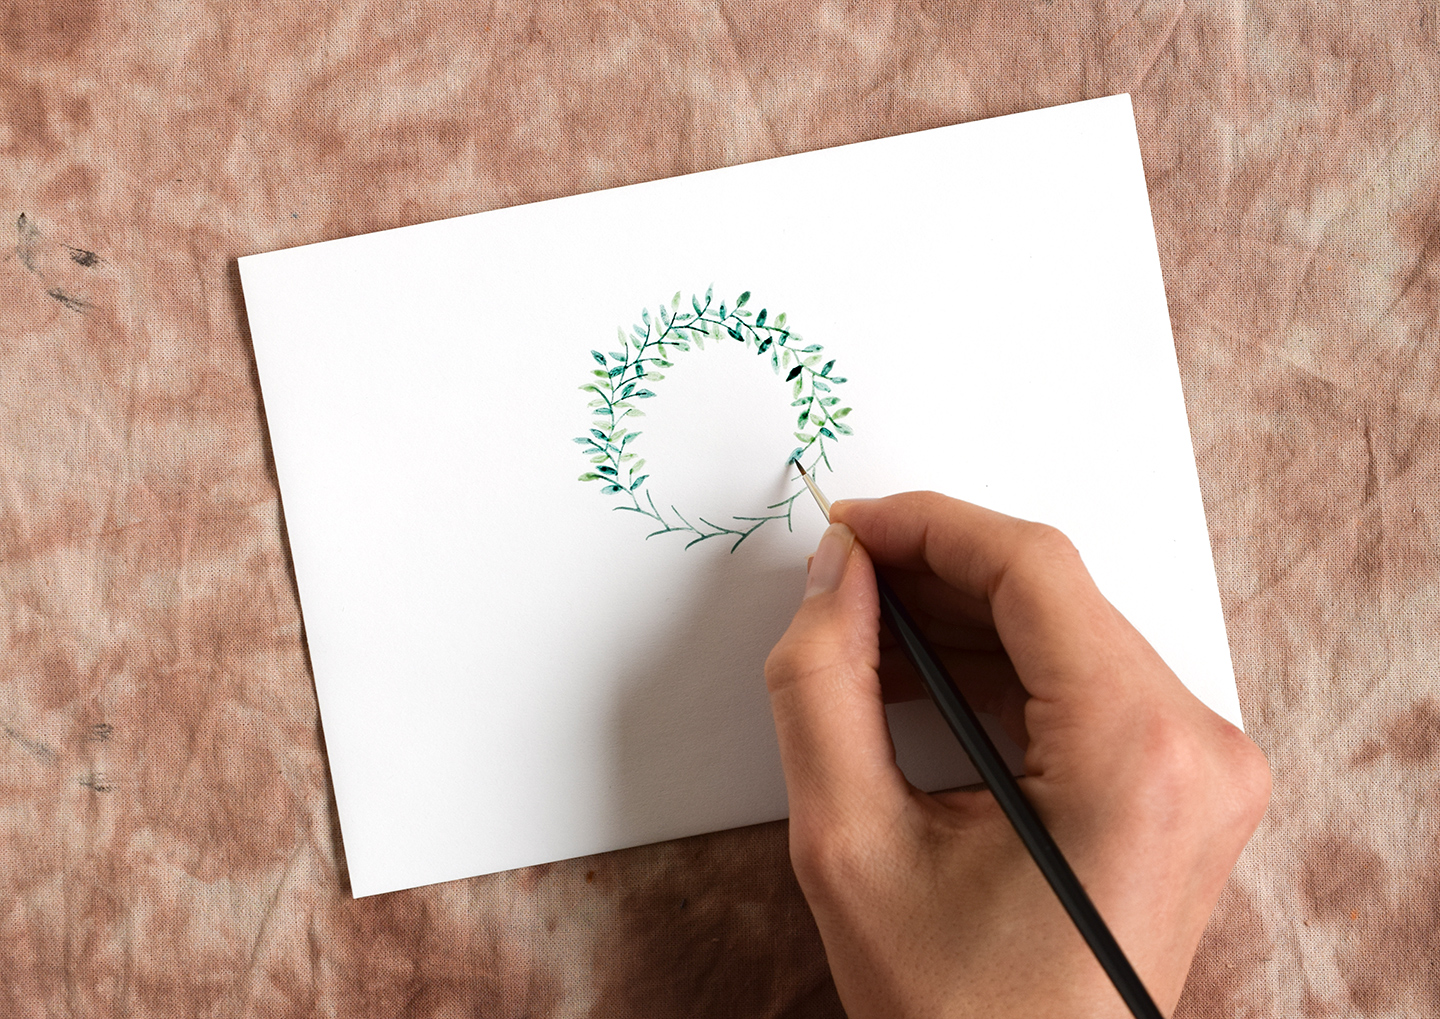
The finished watercolor wreath will look something like the photo below!

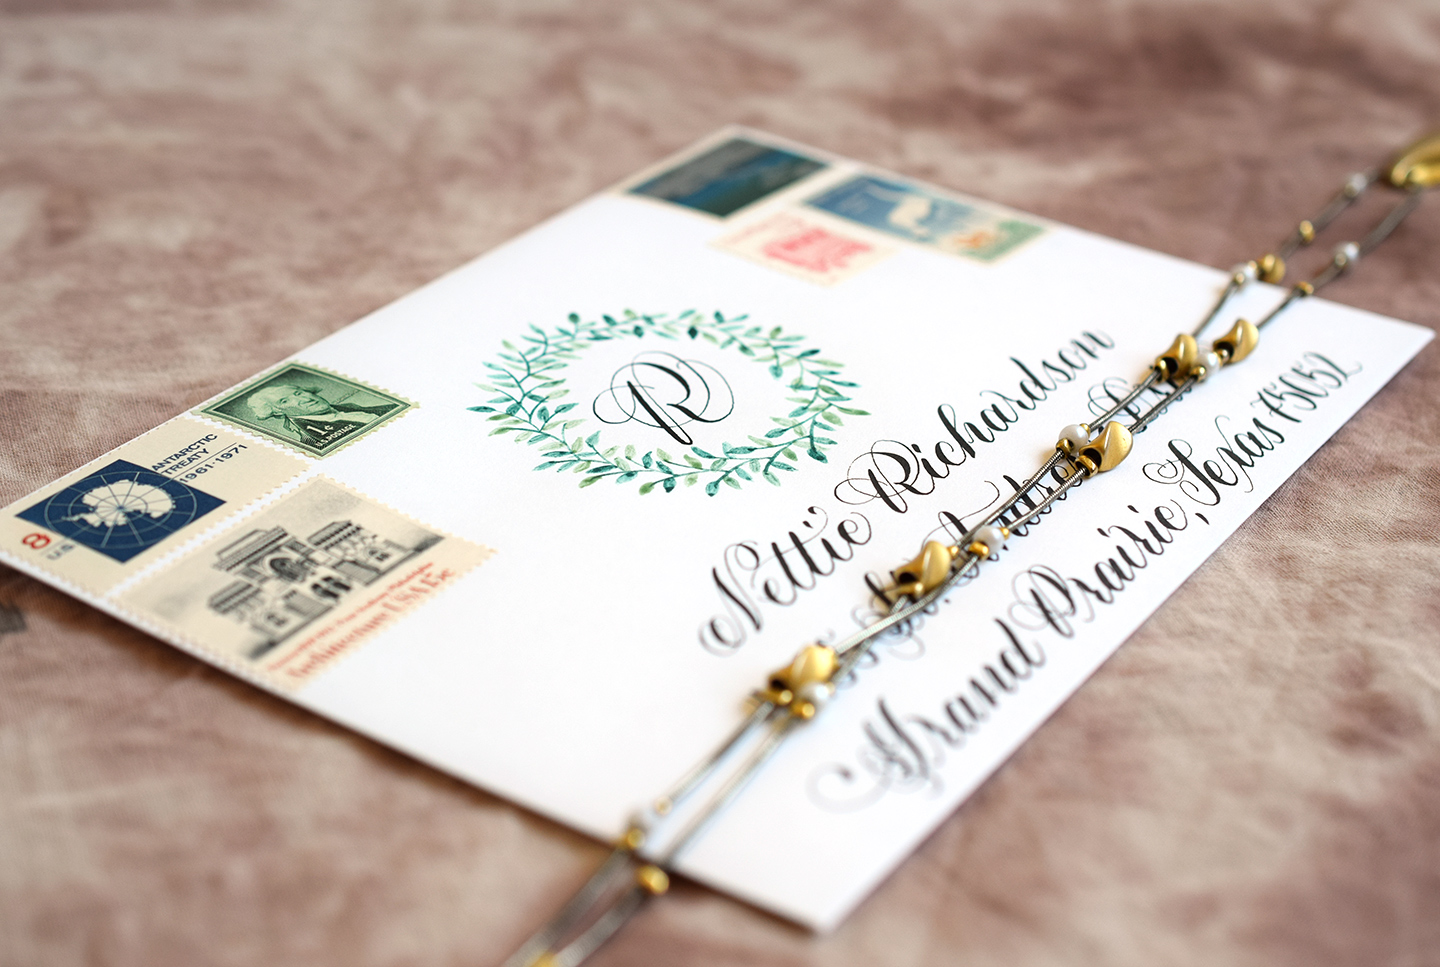
While a lone watercolor wreath can be lovely, a little bit of calligraphy or lettering can really make a wreath extraordinary! The Janet Style envelope below shows how a simple wreath illustration and calligraphy can work together to make for a beautiful piece of mail art. The wreath is “framed” by vintage stamps (purchased on eBay), which adds another layer of visual interest.
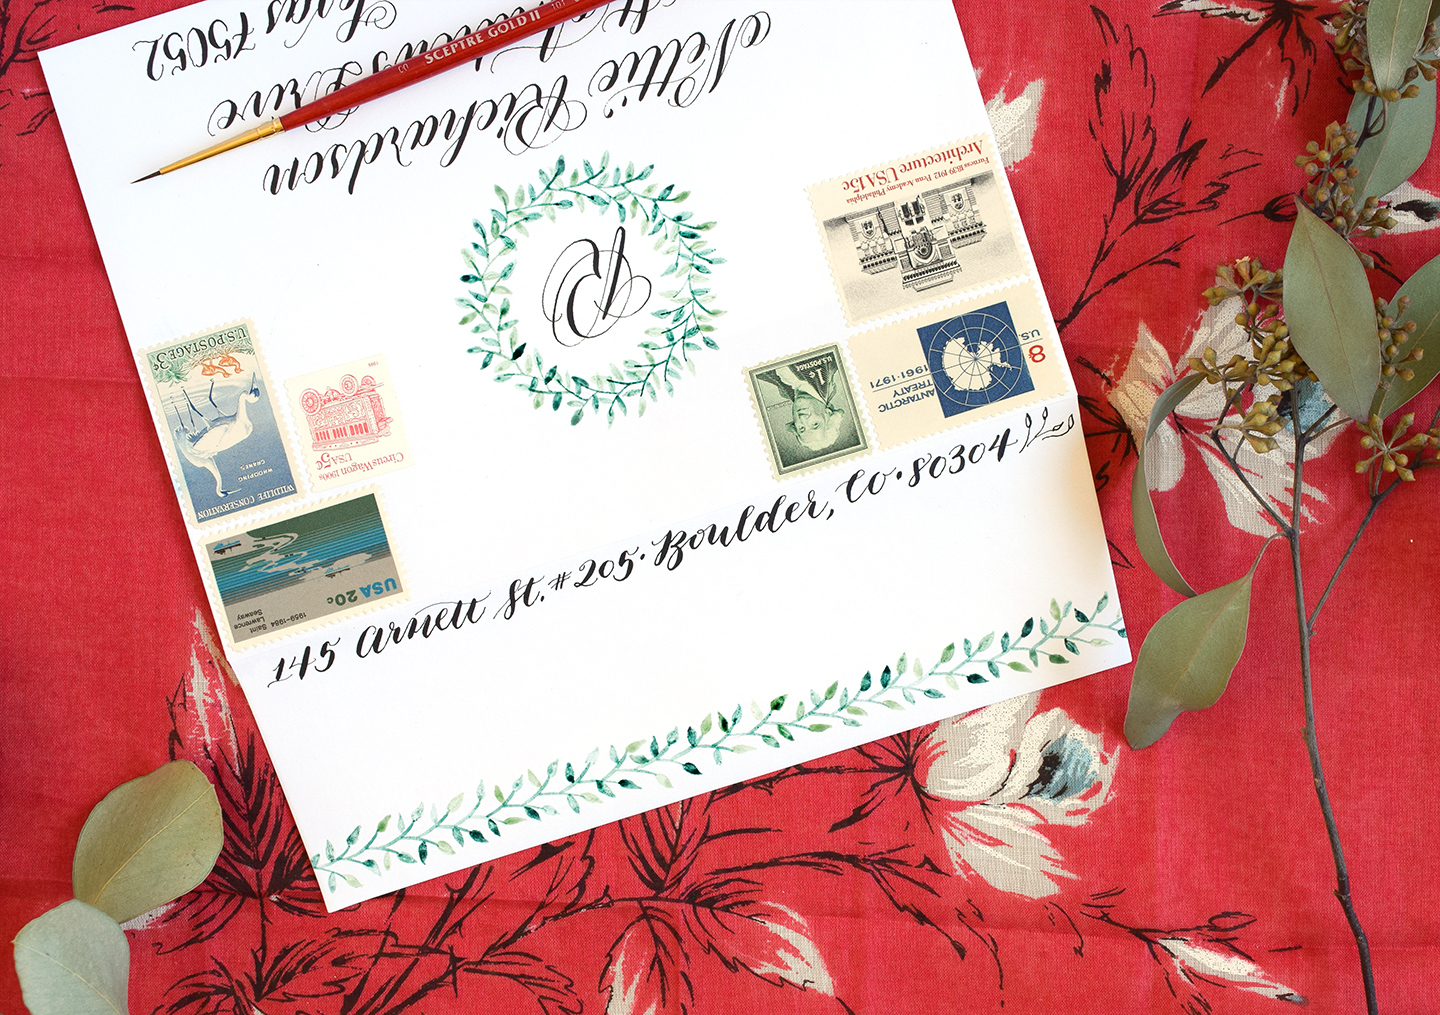
While this illustration technique works beautifully for drawing wreaths, you can use it to make a straight garland, too! Simply draw a straight guideline with a pencil, and use your dip pen to make short, curved watercolor lines over it.

Next, paint the leaves in wherever you can.

As you can see, making a straight garland on the back of the envelope adds even more elegance and whimsical flair to the overall design!
Though this leafy wreath looks fantastic on mail art, there are about a million other things you could use it on. For example, you can make a simple gift tag. Start by painting a wreath as described in the tutorial above …

Then write your gift recipient’s name in the wreath. In the photo below, I used the watercolor calligraphy technique to write “Olivia” in Amy Style.
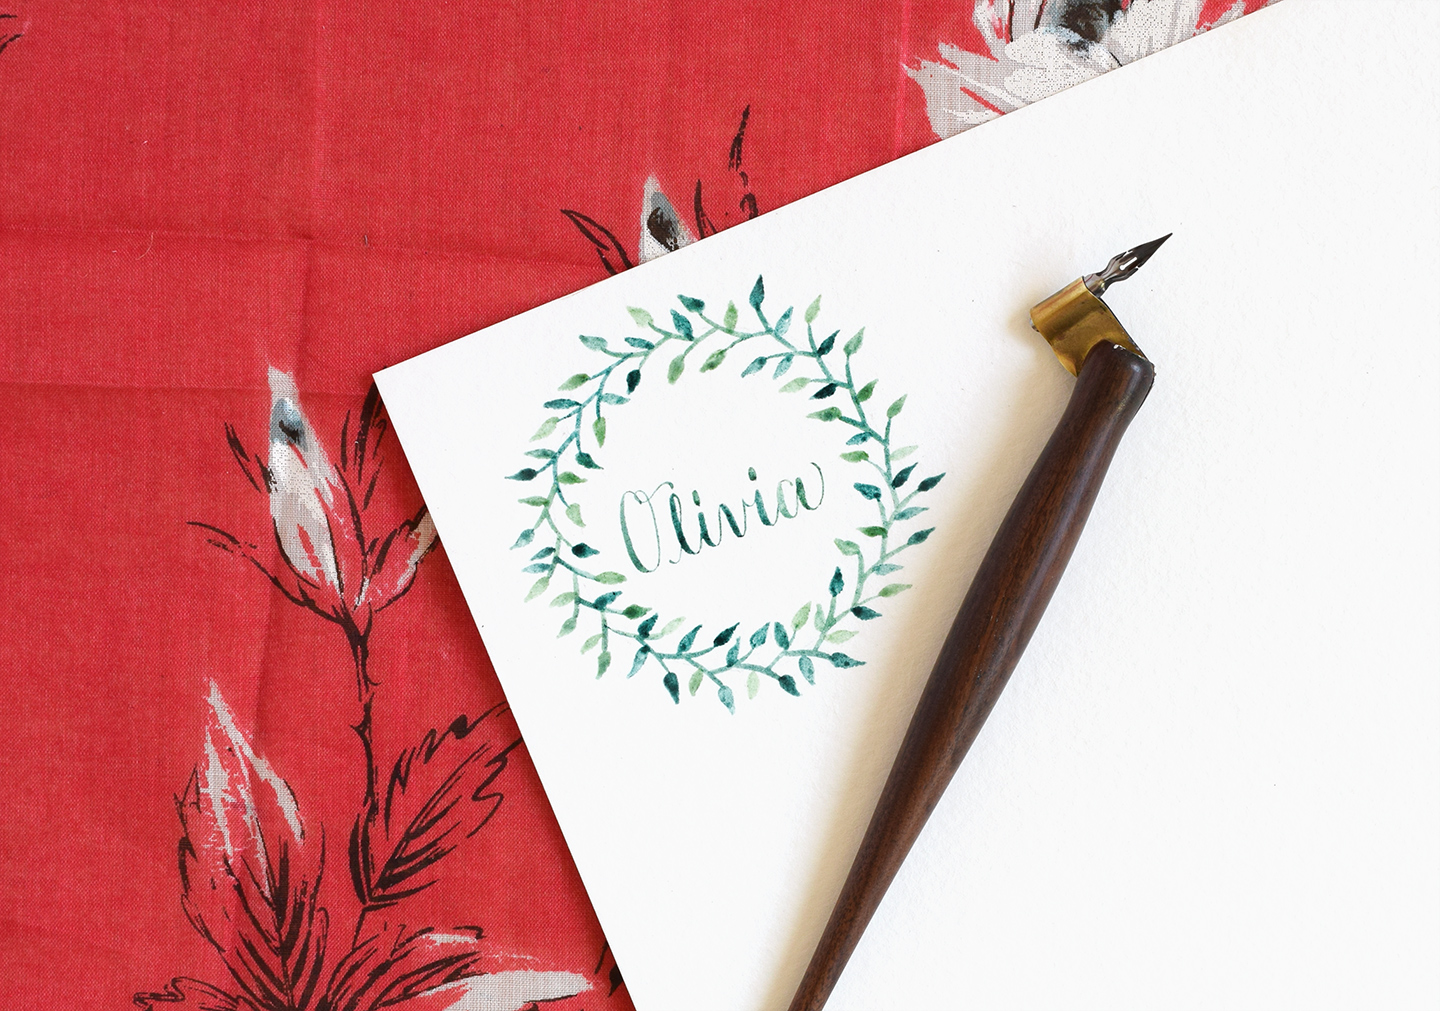
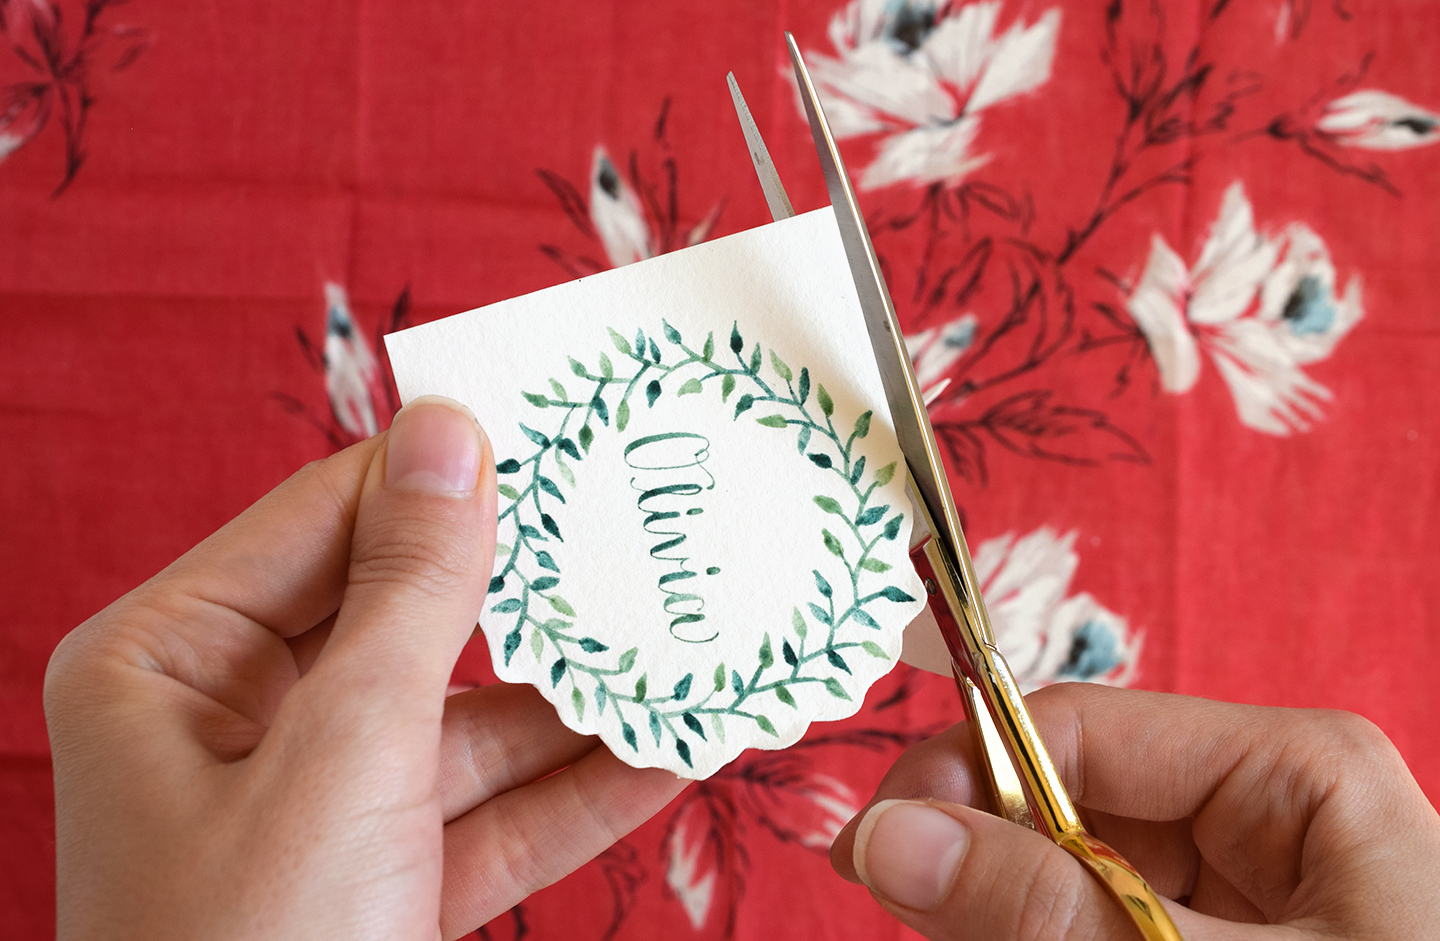
Next, cut out the wreath. I like to create a wavy cut that mimics the contours of the illustration!
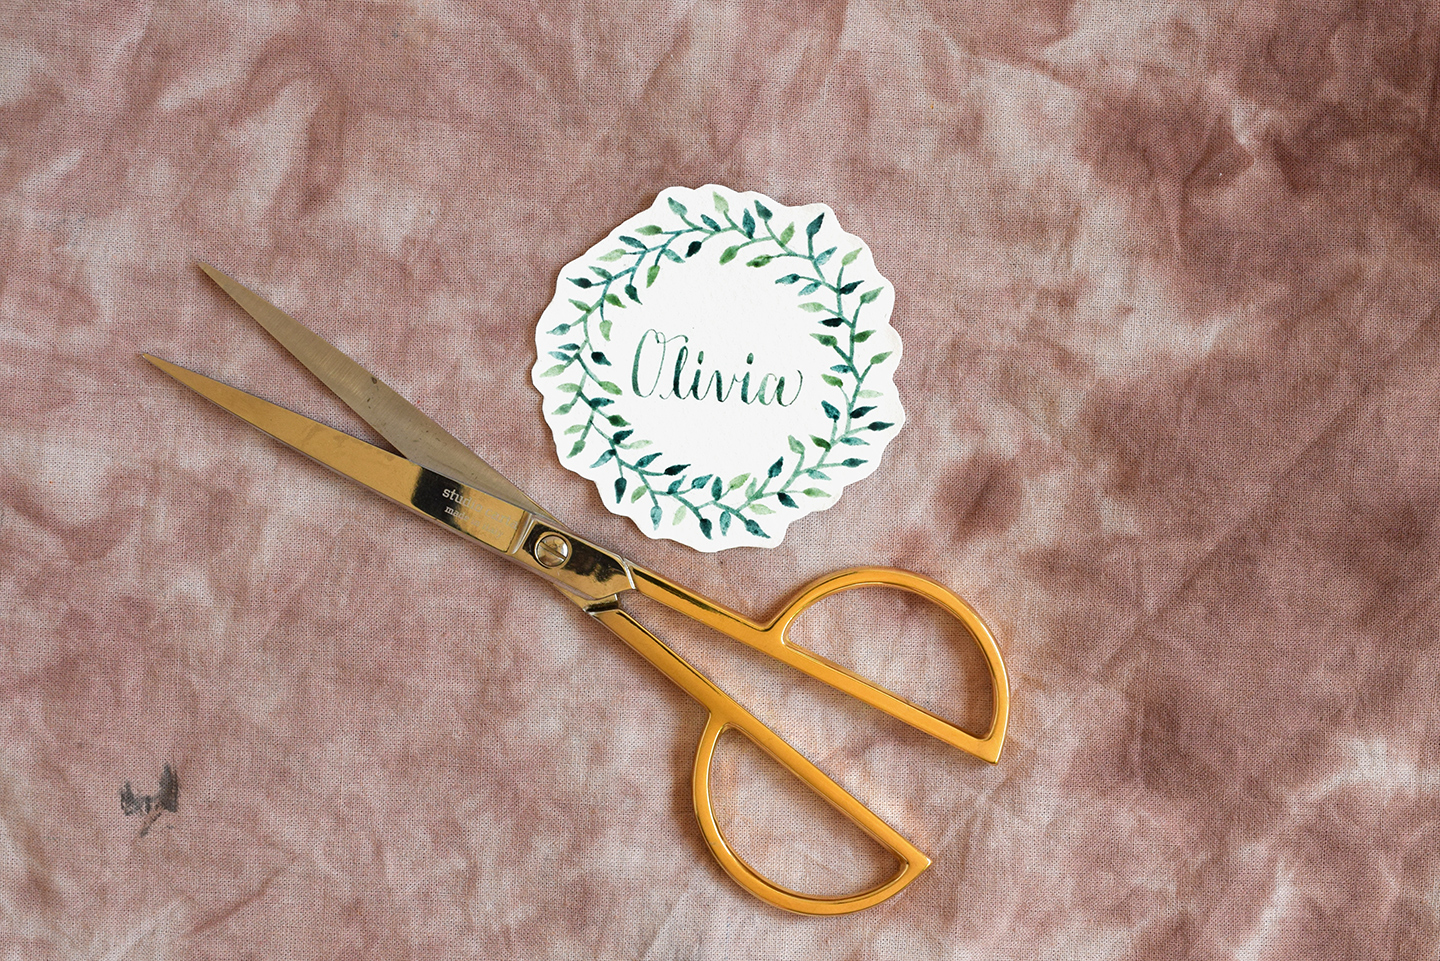
Finally, punch a hole in the cut-out, and run ribbon or twine through it!

If you want to make several gift tags like the one pictured above, you could always illustrate one wreath and scan it into your computer. Use Photoshop to digitize the illustration, then duplicate it several times to make a printout that includes multiple wreaths (as described in Lesson 3 of the Digitizing Artwork and Calligraphy eCourse). As long as you print the wreaths off on 32# laserjet paper or 70 lb. drawing paper, you should be able to create calligraphy on them! (Alternatively, you can use a computer font to write the recipients’ names within Photoshop).
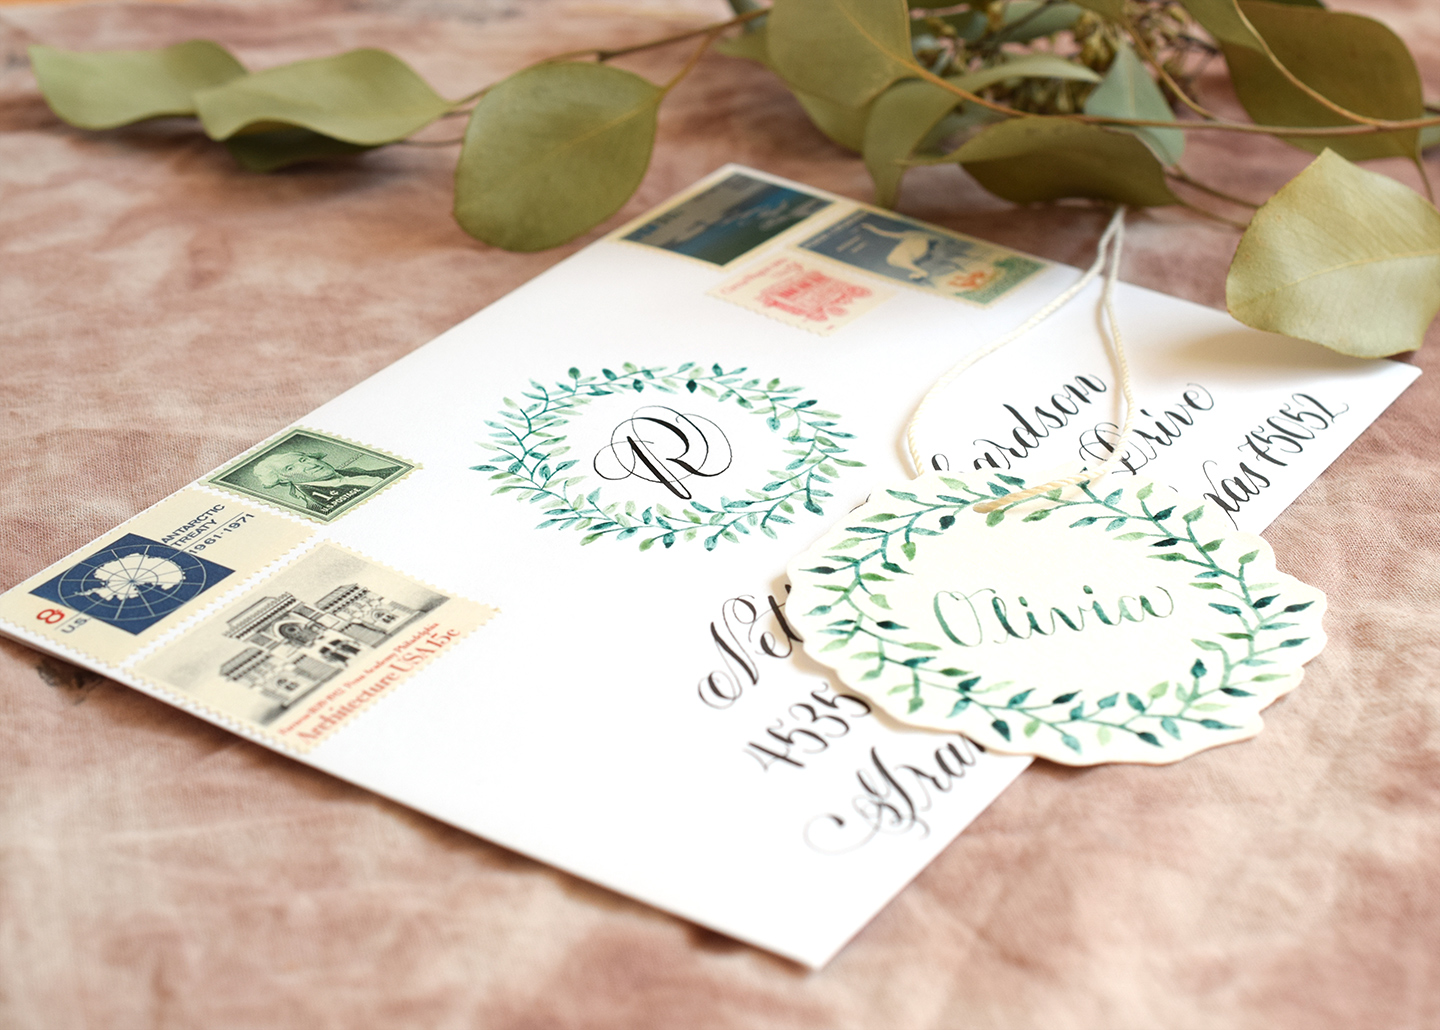
Though this blog post showcases using today’s watercolor wreath technique on an envelope and a gift tag, I hope that you’ll use it for other creative applications as well! It would look great in a sketchbook, on a business card, or even as part of a logo! It’s a wonderful illustrated element to add to any piece. I hope you enjoyed this tutorial, and if you didn’t catch Part I, be sure to take a look!
Warmly,


